Commercial Refrigerator Door Gasket Replacement: A 20-Minute Guide
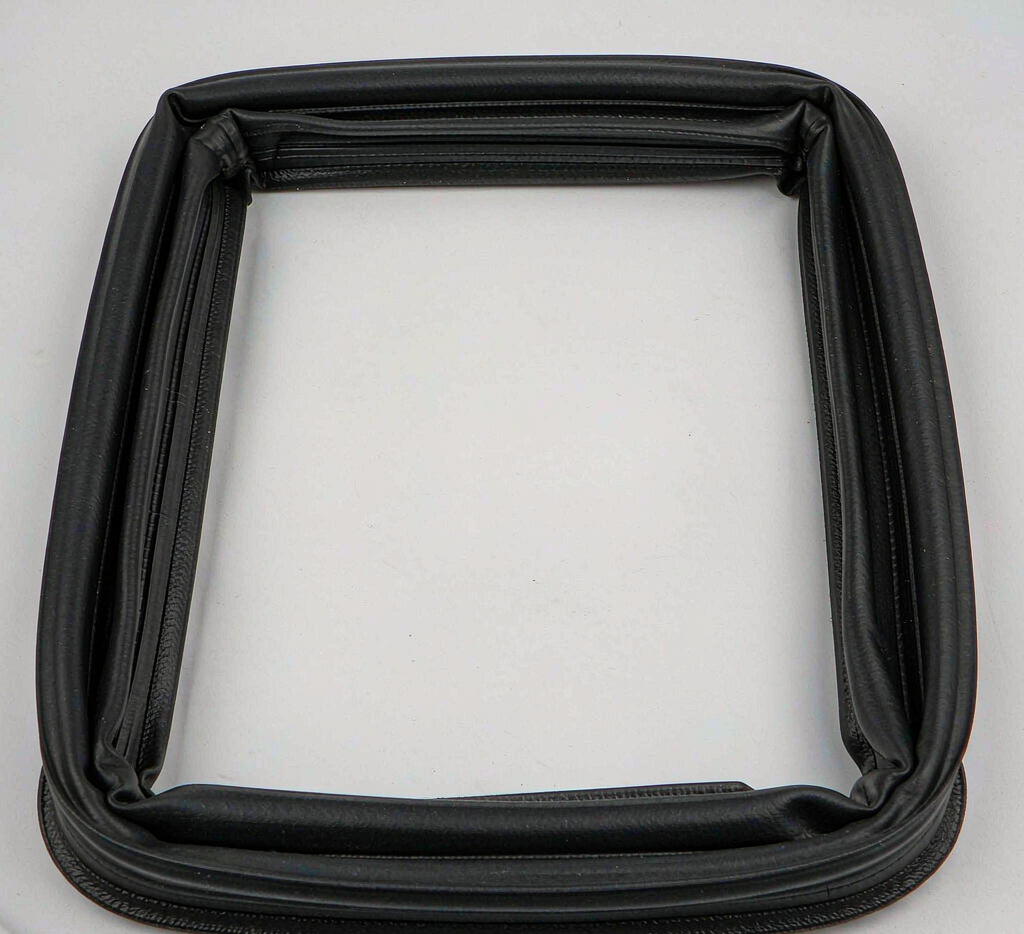
A failed door gasket is the most common. And most ignored. Cause of rising energy costs in a commercial kitchen. The door still closes, the fridge still feels cold, so nobody investigates. Meanwhile the compressor runs almost continuously, the evaporator ices up, and product near the door spoils faster than it should.
A replacement gasket costs a fraction of one month's wasted electricity. This guide covers how to tell it has failed, how to order the right one the first time, and how to fit it in about 20 minutes without calling a service company.
Four signs the gasket has failed
- Condensation or frost along the door frame. Moisture on the inside face of the door means warm, humid air is getting past the seal.
- The compressor never rests. If the unit cycles constantly during quiet periods, it is fighting heat gain through the door.
- Visible deformation. Look for flattened lips, cracks at the corners, hard or brittle rubber, or a gasket that no longer springs back when pressed.
- Warm product at the front of the shelves. Temperature probes near the door running 3–5°C above the rear of the cabinet is a classic gasket symptom.
The dollar-bill test (30 seconds, no tools)
Close a banknote. Or a strip of paper. In the door so half hangs outside, at several points around the frame: top hinge side, top centre, latch side, bottom. Then pull.
- Light resistance everywhere: the seal is still doing its job.
- Slides out easily at one or more points: the gasket is compressed or distorted at those points and is leaking.
Test with the cabinet running and the door closed normally. A gasket that only leaks in cold conditions is still a gasket that leaks.
Why gaskets fail faster in commercial kitchens
Domestic fridges open a few times a day. A busy reach-in opens hundreds of times per shift. On top of that:
- Heat and grease from nearby cooking lines accelerate rubber ageing and make the material hard.
- Harsh cleaning chemicals. Especially chlorine bleach and aggressive degreasers. Attack the vinyl surface.
- Door slamming and staff leaning on the door distort the frame over time.
- Misaligned hinges load one side of the gasket more than the other, so it compresses unevenly.
Step 1: Identify the exact gasket
This is where most first-time buyers get it wrong. Gaskets are not universal. A True T-49 gasket will not fit a Turbo Air M3, even when the door looks identical.
- Find the data plate. Usually inside the cabinet on the left wall, on the compressor compartment cover, or behind the front grille. Note the model number and serial number exactly as printed.
- Check the parts manual for that model. Manufacturers list a gasket part number per door size (e.g. a two-door T-49 uses two gaskets of the same size on some versions, and different sizes on others).
- Measure the frame, not the door. Record the outside width and height of the gasket's mounting frame, the gasket profile depth, and the magnet position (inside the lip vs. under the flange).
- Note the corner type. Welded corners, snap-in corners and push-in dart styles are not interchangeable.
If you are unsure, send a photo of the data plate plus a measurement sketch to our WhatsApp. We cross-reference the model against our gasket range and confirm the match before you order.
Step 2: Install it. The sequence matters
Tools: a flat-blade screwdriver or gasket tool, a clean rag, mild soapy water, and a hair dryer.
- Unplug or switch off the unit if the work involves the frame or latch. For a simple pull-out gasket, keep the cabinet closed and work quickly.
- Remove the old gasket. On most commercial doors it pulls out of a retainer channel; on others it is held by screws under the flange. Keep it intact. It is your reference for size and profile.
- Clean the channel. Old grease and food debris stop the new gasket seating fully. Wipe with mild soapy water, then dry completely.
- Relax the new gasket. Gaskets ship folded. Lay it flat in a warm room for a few hours, or warm the corners gently with a hair dryer on low. Never a heat gun, which will distort the profile.
- Start at the top corners. Press the corners in first, then work along the top, down both sides, and finish at the bottom. This keeps the frame square.
- Check the seal. Close the door and repeat the dollar-bill test at six points. If one section pulls out easily, lift that section, warm it and reseat.
- Give it 24 hours. New gaskets take a day to conform. Re-test the seal the following morning before declaring the job done.
Step 3: Stop the next failure
- Quarterly: wipe the gasket with mild soapy water and dry it. Inspect corners for cracks.
- Never use bleach, solvent-based degreasers or abrasive pads on the gasket.
- Check hinges twice a year. A door that sags pulls the gasket away from the frame at the top. The gasket gets blamed, the hinge is the cause.
- Train staff to close the door with the handle rather than pushing the door panel, and never to prop it open with a crate.
What to look for when buying
- Magnetic strength: a weak magnet lets the door drift open. Ask for the pull-force specification.
- Profile accuracy: a profile that is 1 mm off will not seat in the retainer and will leak at the corners.
- Material: commercial-grade vinyl that resists grease and cleaning chemicals, not domestic-grade rubber.
- Corner construction: welded corners outlast glued corners in high-traffic kitchens.
Our Commercial Refrigeration Parts range covers the most common True, Turbo Air and Delfield door sizes, plus a universal cut-to-length gasket roll for discontinued or unusual frames. Samples can be ordered before committing to a wholesale quantity. See the wholesale page or message us on WhatsApp with your model number.
Bottom line: test the seal with a banknote every quarter, replace the moment it fails, and treat the gasket as a consumable. Not a repair. It is the cheapest energy-efficiency upgrade in your kitchen.